
How to Remove a Subfloor Without Removing Cabinets
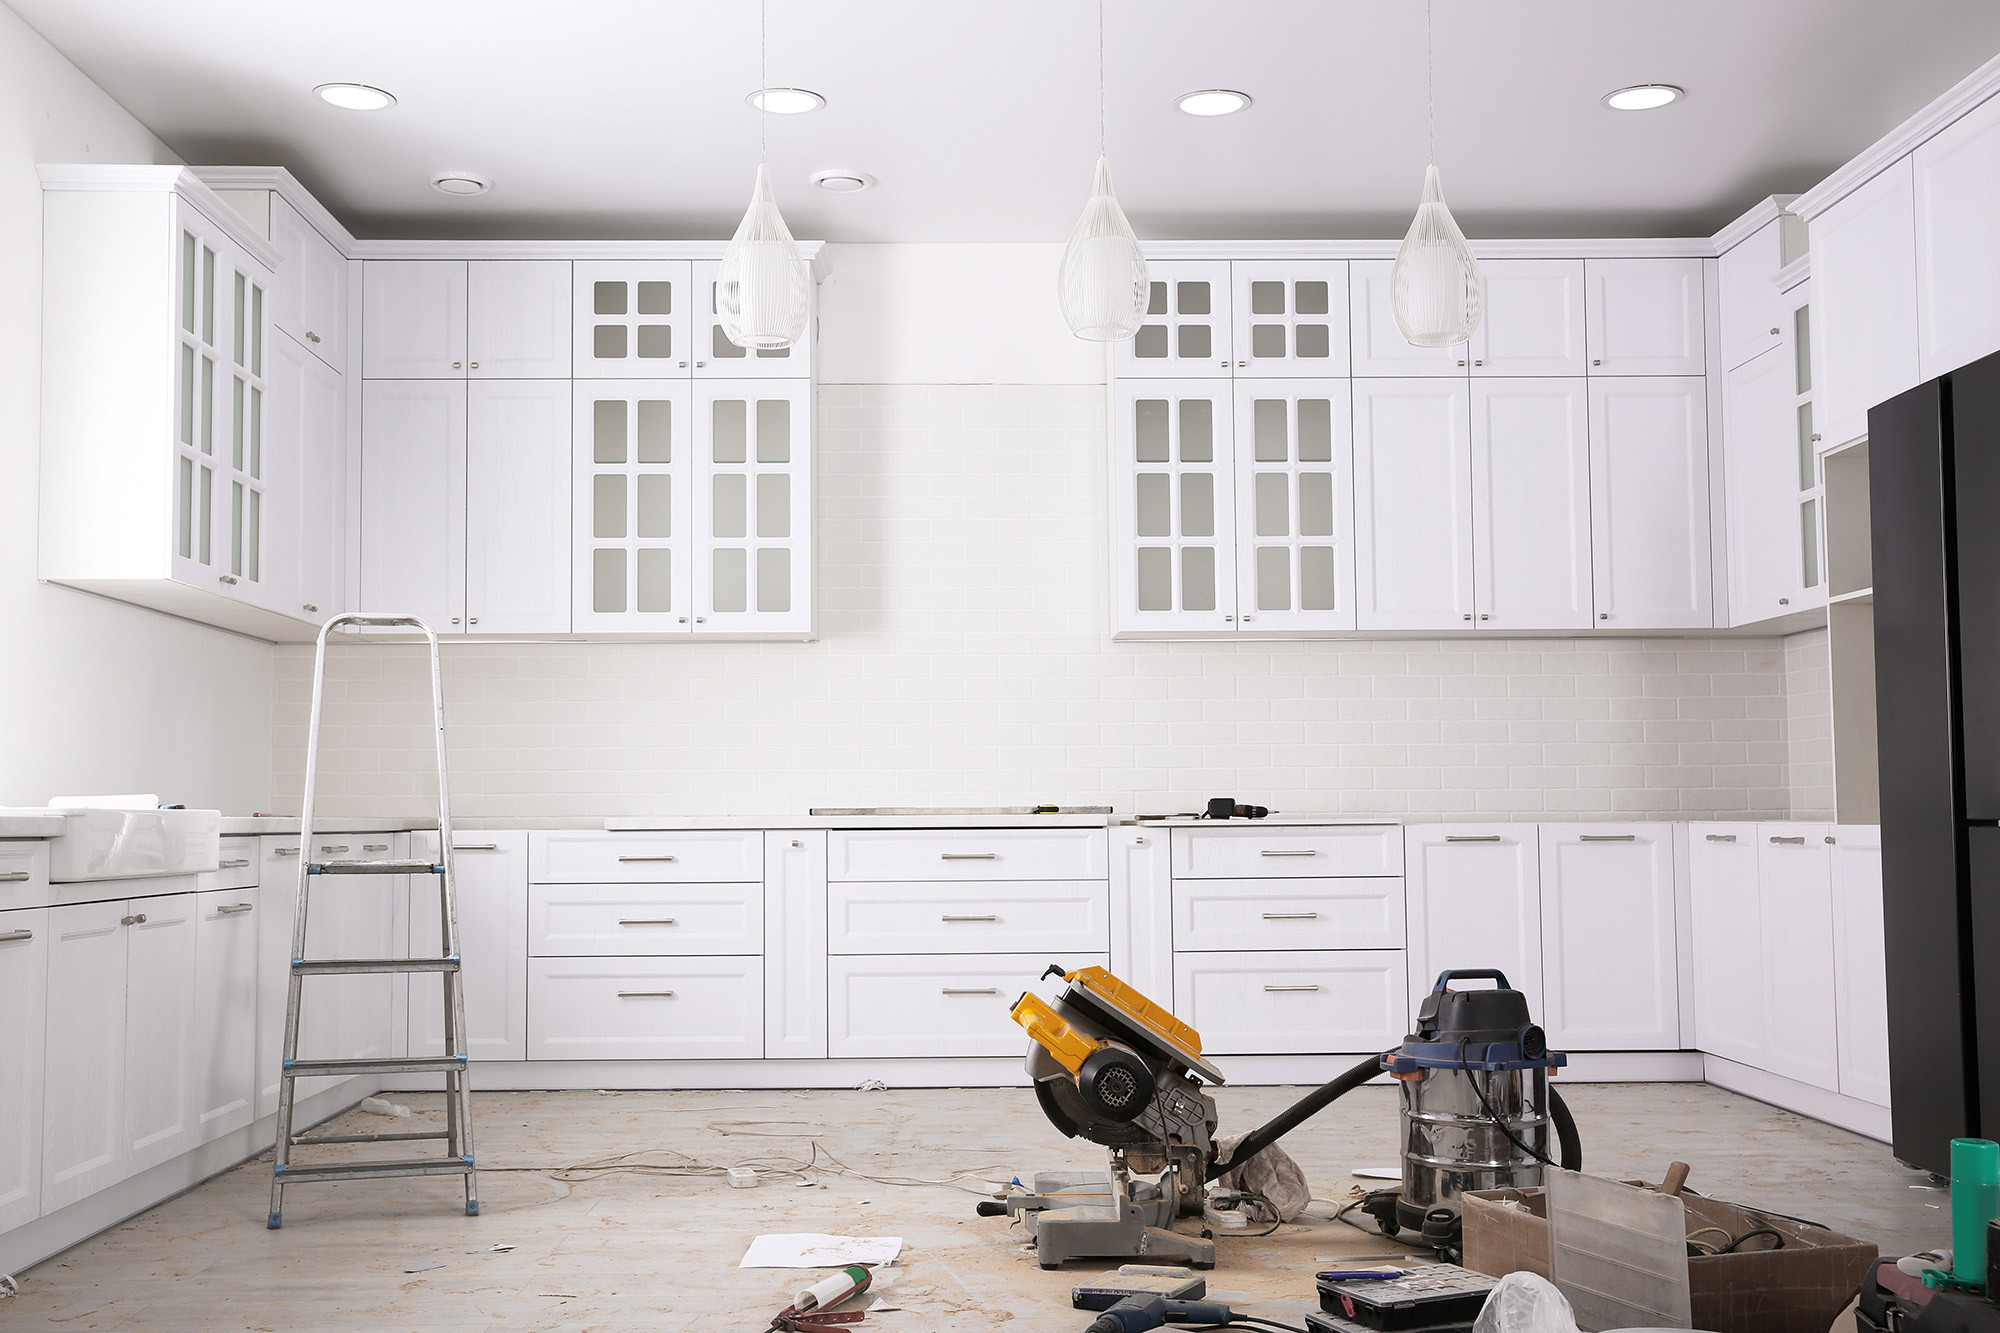
You can remove and replace a damaged subfloor without removing your kitchen or bathroom cabinets by cutting the subfloor flush along the toe kicks, stabilizing the perimeter, and reinforcing the floor joists with sistered framing and ledger blocking. Whether a slow plumbing leak rotted the plywood beneath your sink or heavy moisture caused the floor around your kitchen island to buckle, tearing out custom cabinetry and stone countertops is often unnecessary, costly, and risky.
At In and Out Flooring, our philosophy is built on delivering floors that endure and style that inspires. Proper subfloor repair requires precision, structural mastery, and quality without shortcuts. Here is our step-by-step professional guide on how to safely remove a compromised subfloor while keeping your existing cabinets securely in place.
Why You Do Not Always Need to Tear Out Your Cabinets
Removing cabinets to fix a damaged subfloor often triggers an expensive chain reaction that you can easily avoid. When you pull lower cabinets, you risk cracking granite or quartz countertops, damaging plumbing supply lines, tearing drywall, and breaking backsplash tiles.
In most kitchens and bathrooms, the subfloor directly beneath the cabinets remains structurally sound because it sits protected under the cabinet base frames. The damage almost always concentrates in open walking areas where dishwasher leaks, refrigerator ice lines, or high ambient humidity penetrate the floor coverings. By cutting the deteriorated subfloor flush against the cabinet bases, you preserve your existing cabinetry, keep your plumbing fixtures undisturbed, and cut days off your renovation timeline.
Essential Tools and Safety Equipment for Precision Cutting
Removing a subfloor close to cabinet bases requires specialized cutting tools that allow you to make clean, vertical cuts without nicking the cabinet face frames or toe kicks:
- Toe-Kick Saw: A specialized circular saw with an offset blade designed specifically to cut flush against vertical surfaces like cabinet bases.
- Oscillating Multi-Tool: Essential for finishing plunge cuts in corners, around door jambs, and near sensitive plumbing supply lines where a circular blade cannot reach.
- Circular Saw with Adjustable Depth: Used for long, straight cuts across open floor spaces. Setting the depth to the exact thickness of your subfloor prevents cutting into the structural floor joists below.
- Heavy-Duty Pry Bars and Wrecking Bars: For lifting sections of damaged plywood or oriented strand board (OSB) away from nails and construction adhesive.
- Personal Protective Equipment (PPE): Safety glasses, heavy leather work gloves, hearing protection, and an N95 dust mask or respirator to protect you against wood dust and mold spores.
Step-by-Step Guide: How to Cut and Remove the Subfloor Around Cabinets
Executing this repair cleanly requires strict attention to cutting depth, utility lines, and structural boundaries.
1. Clear the Room and Expose the Subfloor
Begin by removing all surface flooring, whether you have tile, luxury vinyl, or hardwood. Pull up all underlayment, staples, and remaining adhesive until the bare subfloor is completely exposed. If your kitchen features decorative toe-kick trim or quarter-round molding along the bottom of the cabinets, carefully pry it off and label each piece for reinstallation later.
2. Map Your Floor Joists and Utility Lines
Locate every floor joist beneath the damaged area using a stud finder or by following the original subfloor fastening pattern. Mark the joist centers clearly on the wood with a pencil or chalk line. Double-check beneath your home in the crawl space or basement to confirm the location of electrical wiring, gas lines, and plumbing pipes running close to the underside of the subfloor.
3. Cut Flush Along the Cabinet Perimeter
Using a toe-kick saw, set the cutting depth precisely to the thickness of your subfloor (typically 5/8-inch or 3/4-inch). Guide the saw flush along the toe kick, cutting the subfloor as close to the cabinet base as possible. Switch to an oscillating multi-tool to finish cuts in tight inside corners and directly around exposed plumbing stubs.
4. Section and Pry Out the Damaged Boards
Make parallel cuts across the open walking area between the floor joists to divide the damaged subfloor into manageable panels (approximately 2 feet by 4 feet). Slide a flat pry bar beneath each section, working gently over the joists to pry up nails or screws without fracturing the framing below. Remove the old panels and sweep the exposed joist cavities clean of all debris.
Structural Reinforcement: Adding Blocking and Sistering Joists
The most critical challenge of removing a subfloor without removing cabinets is supporting the edge of the new plywood where it meets the cabinets. When you cut flush along the cabinet base, you leave the remaining subfloor under the cabinet unsupported if a joist does not run directly beneath that edge.
At In and Out Flooring, we never compromise on structural integrity. Here is how we ensure your new floor never sags, bounces, or squeaks:
- Sistering Floor Joists: If water damage affected the tops of the exposed floor joists, we clean away rot and fasten new, matching dimensional lumber directly alongside the existing joists using structural wood screws and construction adhesive.
- Installing Perimeter Ledger Blocking: Along the cut line under your cabinet toe kick, we install solid 2×4 or 2×6 wood blocking between the floor joists. Position this blocking flush with the top edge of the joists and secure it with heavy-duty framing fasteners. This creates a solid, load-bearing shelf that supports both the existing subfloor under the cabinet and the edge of your new subfloor patch.
- Eliminating Squeaks Before Closing: We verify that all original framing is tightly secured to prevent joist deflection. This attention to detail ensures your finished floor remains quiet under heavy foot traffic.
Installing the New Subfloor
Once structural blocking is in place, measure the opening accurately. Cut your replacement tongue-and-groove plywood or OSB to fit snugly against the cut line at the cabinet base.
- Apply Subfloor Adhesive: Run a continuous bead of heavy-duty, polyurethane subfloor adhesive along the tops of all exposed joists and perimeter ledger blocking.
- Set the New Panels: Lay the replacement panel into position, leaving a 1/8-inch expansion gap along the cabinet base and perimeter walls to accommodate seasonal expansion.
- Fasten Securely: Fasten the panel using exterior-grade ring-shank nails or structural subfloor screws spaced 6 inches apart along the edges and 8 to 12 inches apart across intermediate joists. Counter-sink screws slightly below the wood surface.
- Sand Seams Flat: Use a heavy-duty floor sander to level any minor height discrepancies between the new subfloor patch and the existing subfloor under the cabinets.
How Central Alabama Moisture Impacts Subfloor Integrity
Elevated humidity and moisture vapor can cause subfloors to soften, swell, and decay over time if left unaddressed. Central Alabama is known for long, sweltering summers with high ambient humidity. When outdoor moisture enters crawl spaces and unconditioned basements, it creates high moisture vapor pressure beneath your subfloor. When paired with everyday kitchen spills, sink splash zones, or refrigerator line leaks, the wood fibers swell, soften, and eventually rot.
Whether you live in a classic home in Mountain Brook, Homewood, or Vestavia Hills with traditional crawl space foundations, or an active family residence in Hoover or Greystone with subfloor settling issues, diagnosing moisture source points is vital. Before we replace any wood in Birmingham, AL, our team conducts comprehensive moisture testing to ensure your subfloor framing is thoroughly dry before sealing it up.
Daily Protection: Choosing the Right Replacement Flooring
Once your subfloor is rock-solid and level, selecting the right finished floor will prevent future moisture headaches:
- Waterproof Luxury Vinyl Plank (LVP): Featuring resilient COREtec options, luxury vinyl delivers 100% waterproof protection and scratch resistance, making it an ideal choice for busy kitchens and bathrooms.
- Engineered Hardwood: If you love the warmth of authentic wood, engineered hardwood provides superior dimensional stability in humid conditions compared to solid timber.
- Porcelain and Ceramic Tile: Tile is excellent for high-moisture zones when installed over a sound, crack-isolation uncoupling membrane.
If your adjoining rooms feature authentic hardwood that looks dull or scratched from years of use, you can also bring your floors back to life with hardwood refinishing, our best-selling specialty service. We sand, stain, and seal your existing wood surfaces to match your refreshed kitchen seamlessly.
Frequently Asked Questions About Kitchen Subfloor Removal
Can you replace a subfloor under a kitchen island without moving it?
Yes, you can cut around the base of a kitchen island using the same toe-kick saw technique applied to perimeter cabinets. However, if your island houses heavy granite or quartz slabs without perimeter wall ties, you must install substantial cross-blocking beneath the island frame to prevent structural sagging.
How do you know if your subfloor needs replacement or just resurfacing?
If the subfloor is spongy underfoot, shows visible black mold, has delaminated plywood layers, or crumbles when probed with a screwdriver, it must be removed and replaced. If the boards are merely discolored from minor surface moisture but remain structurally dense and flat, drying and treating the wood may be sufficient.
How long does it take to repair a subfloor around cabinets?
A professional crew can typically cut, reinforce, and replace a damaged kitchen or bathroom subfloor section within one to two business days, allowing your new flooring installation to proceed without costly renovation delays.
Schedule Your Free, No-Obligation In-Home Assessment
Repairing a subfloor around your existing cabinetry requires craftsmanship, structural precision, and zero shortcuts.
Give our team a call or schedule your free, no-obligation in-home assessment today. We proudly serve you across Birmingham, AL, Vestavia Hills, Mountain Brook, Hoover, Homewood, and Greystone, AL.